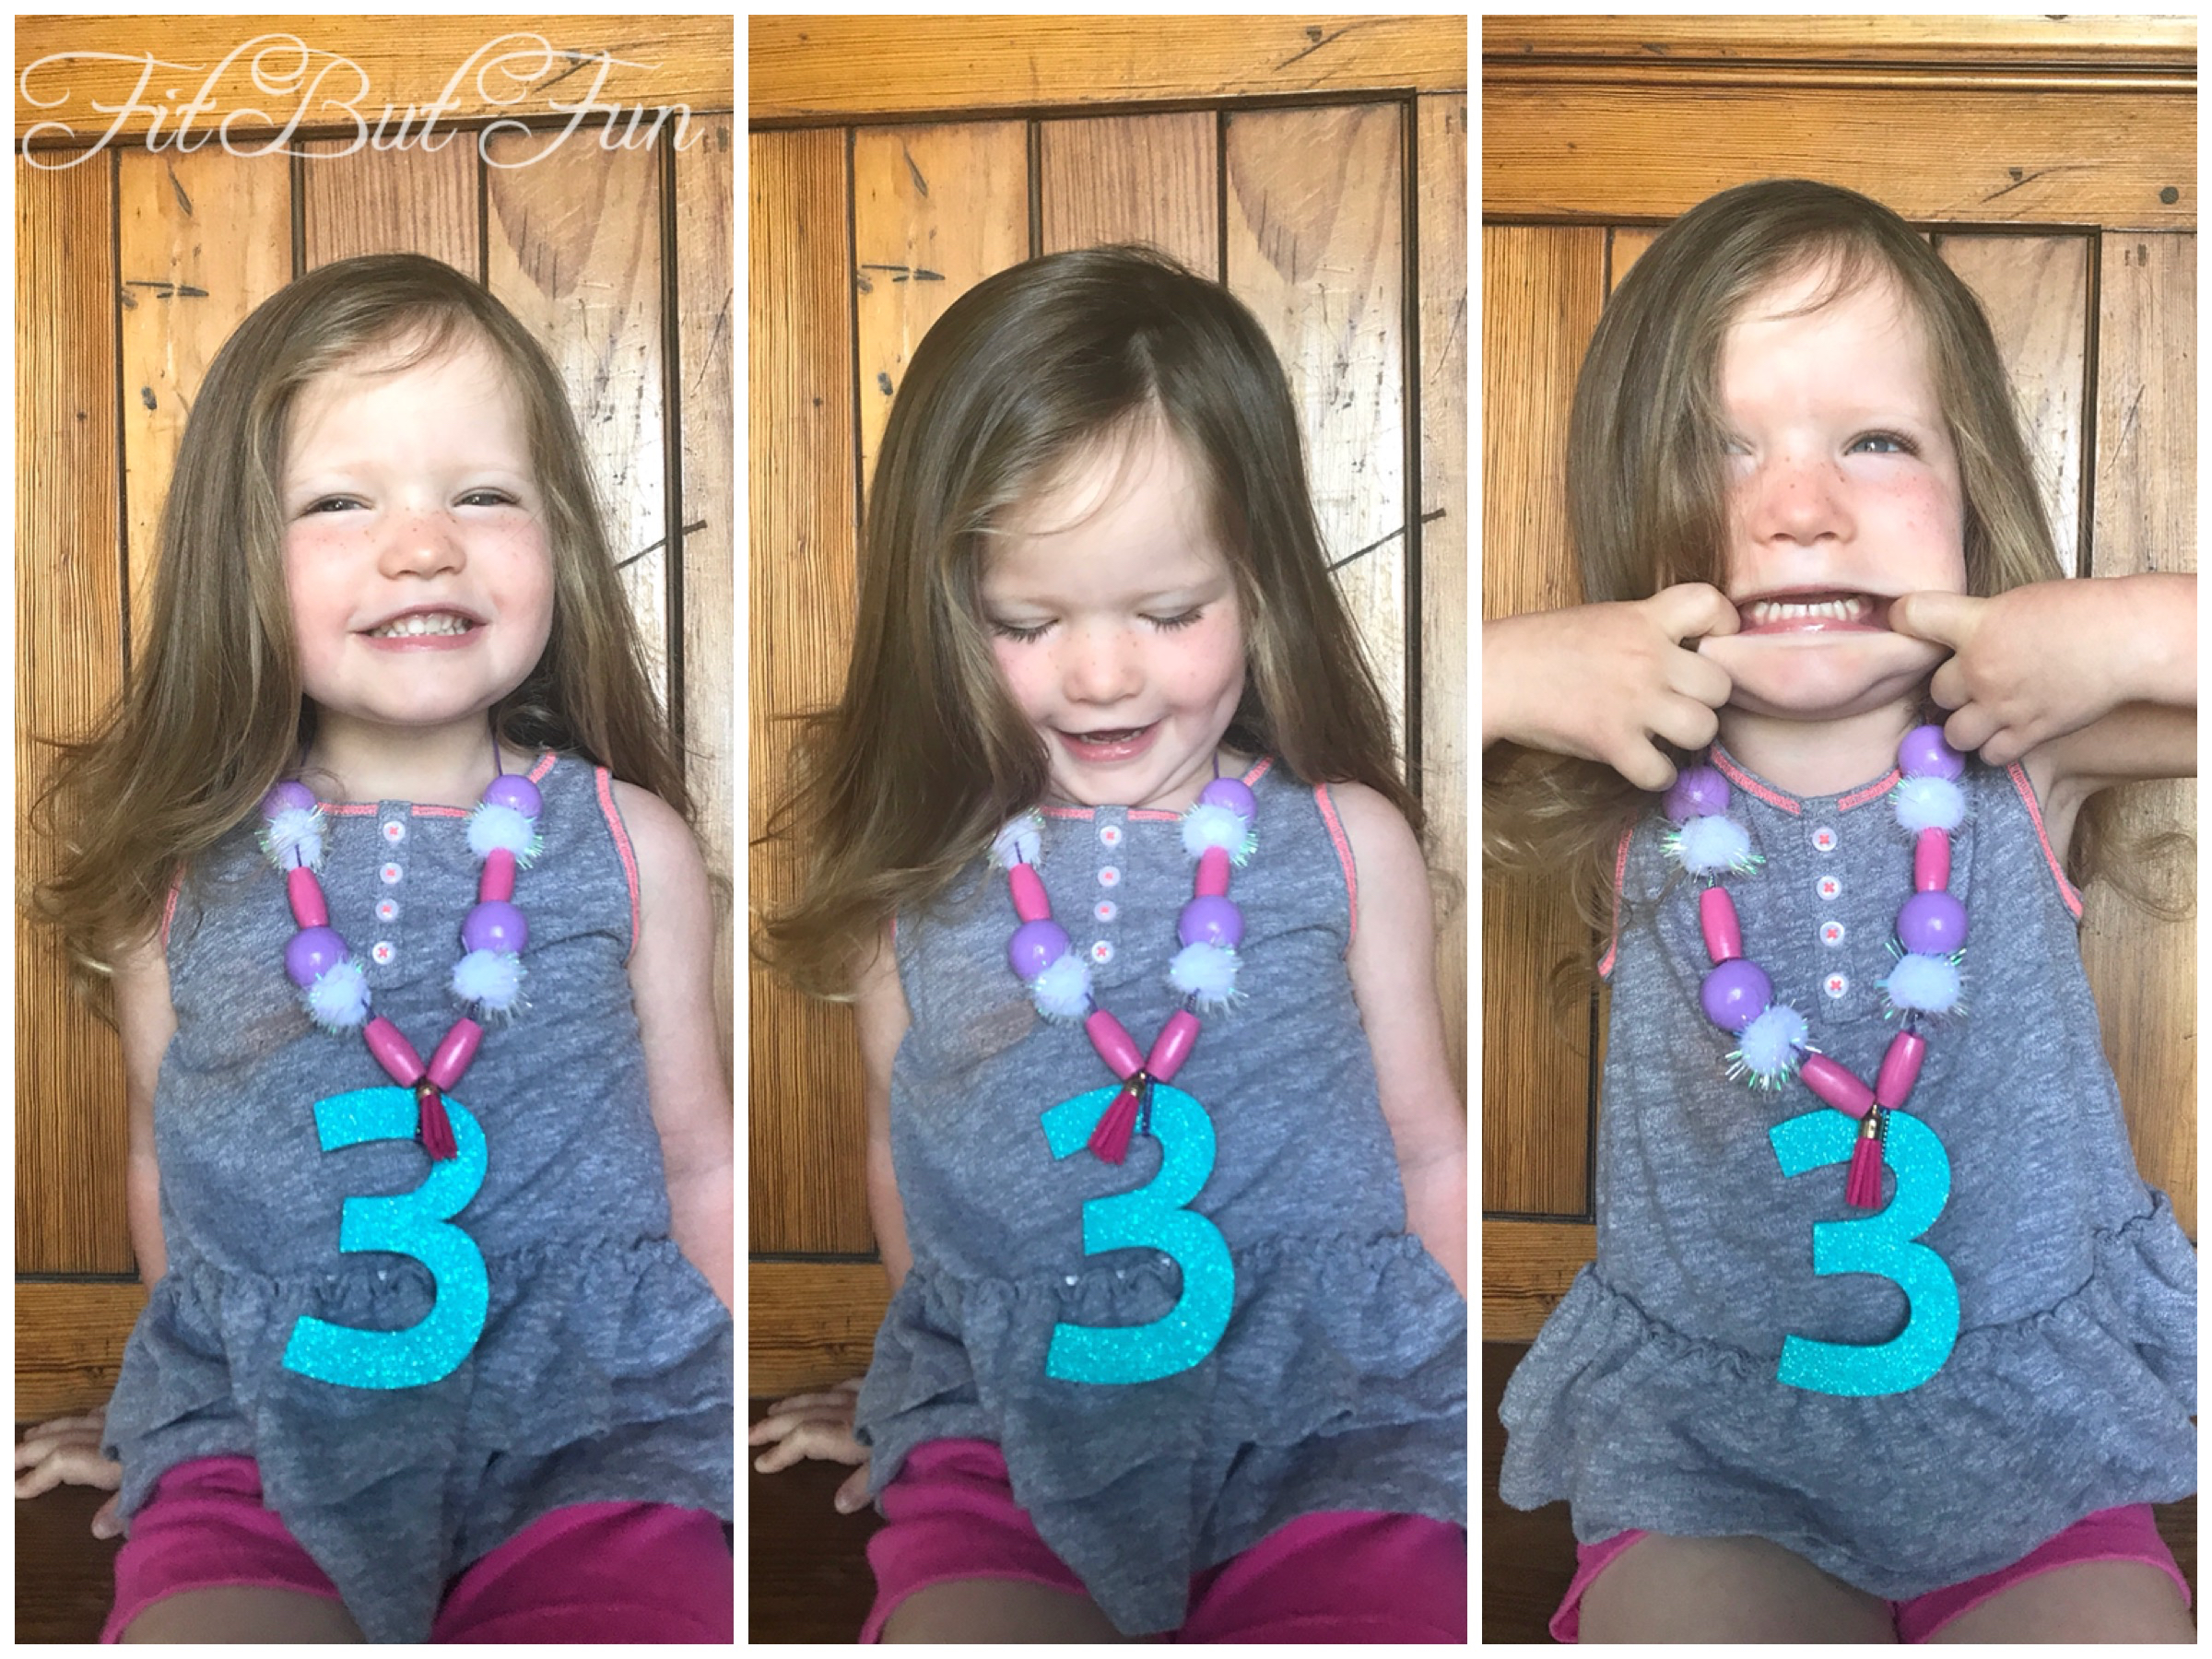
Our Princess is turning THREE next week!
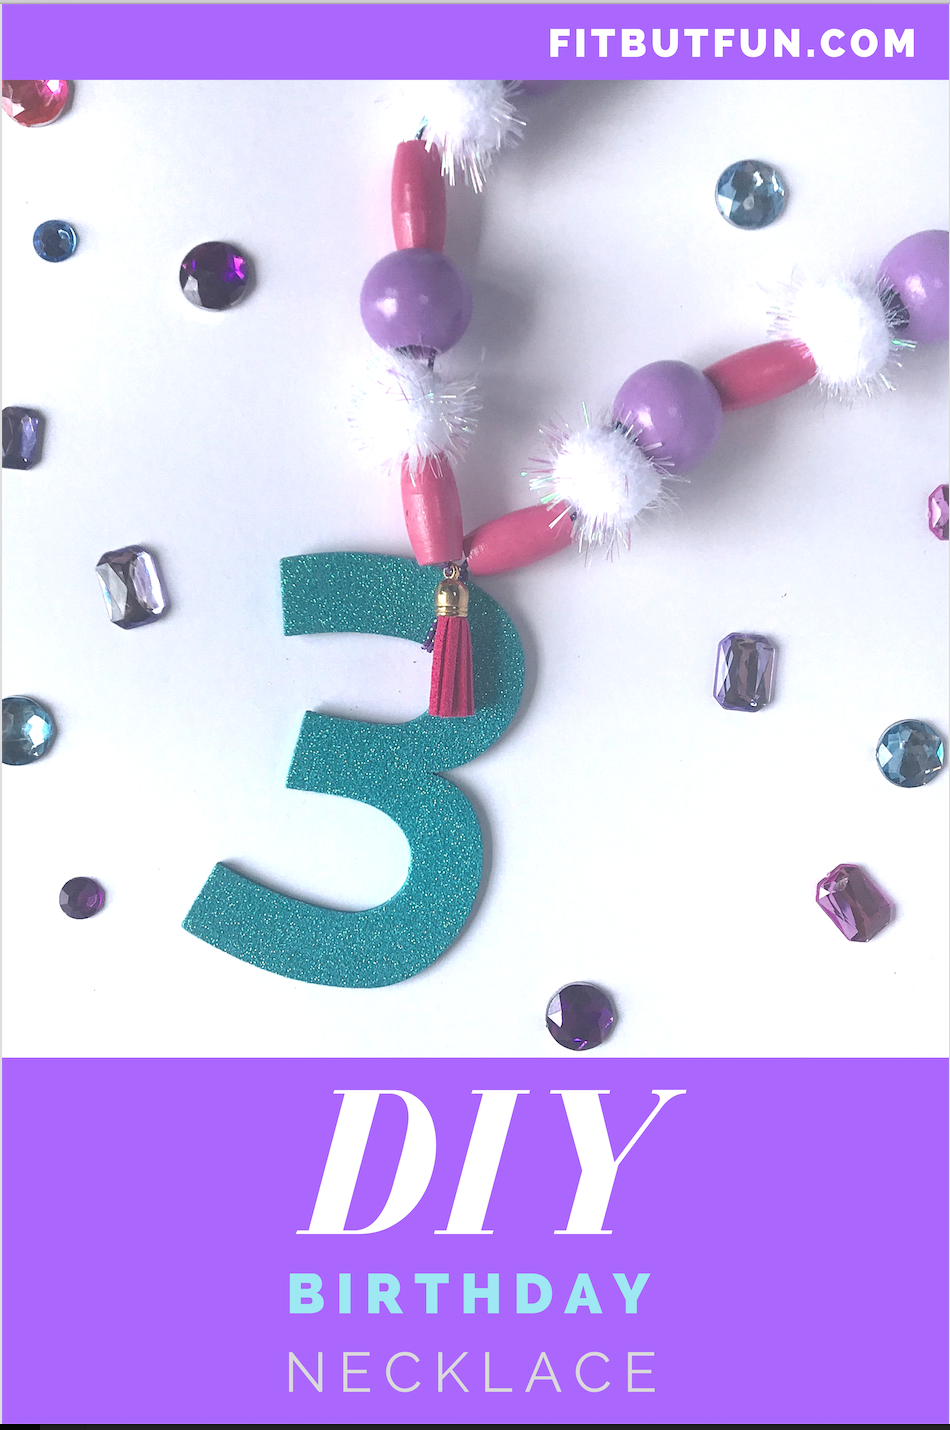
We aren’t going all out with a big party or anything. She wants a “Cat Cake” and to get her ears pierced. I saw these necklaces in a boutique for almost $40 which I thought was crazy! I went to Hobby Lobby and got all of the supplies for $14. If I wouldn’t have procrastinated I probably could have done everything for under ten since they have sales so often but I bought everything the day I was there. I have plenty to make necklaces for my nieces and T for years to come!
Supplies:
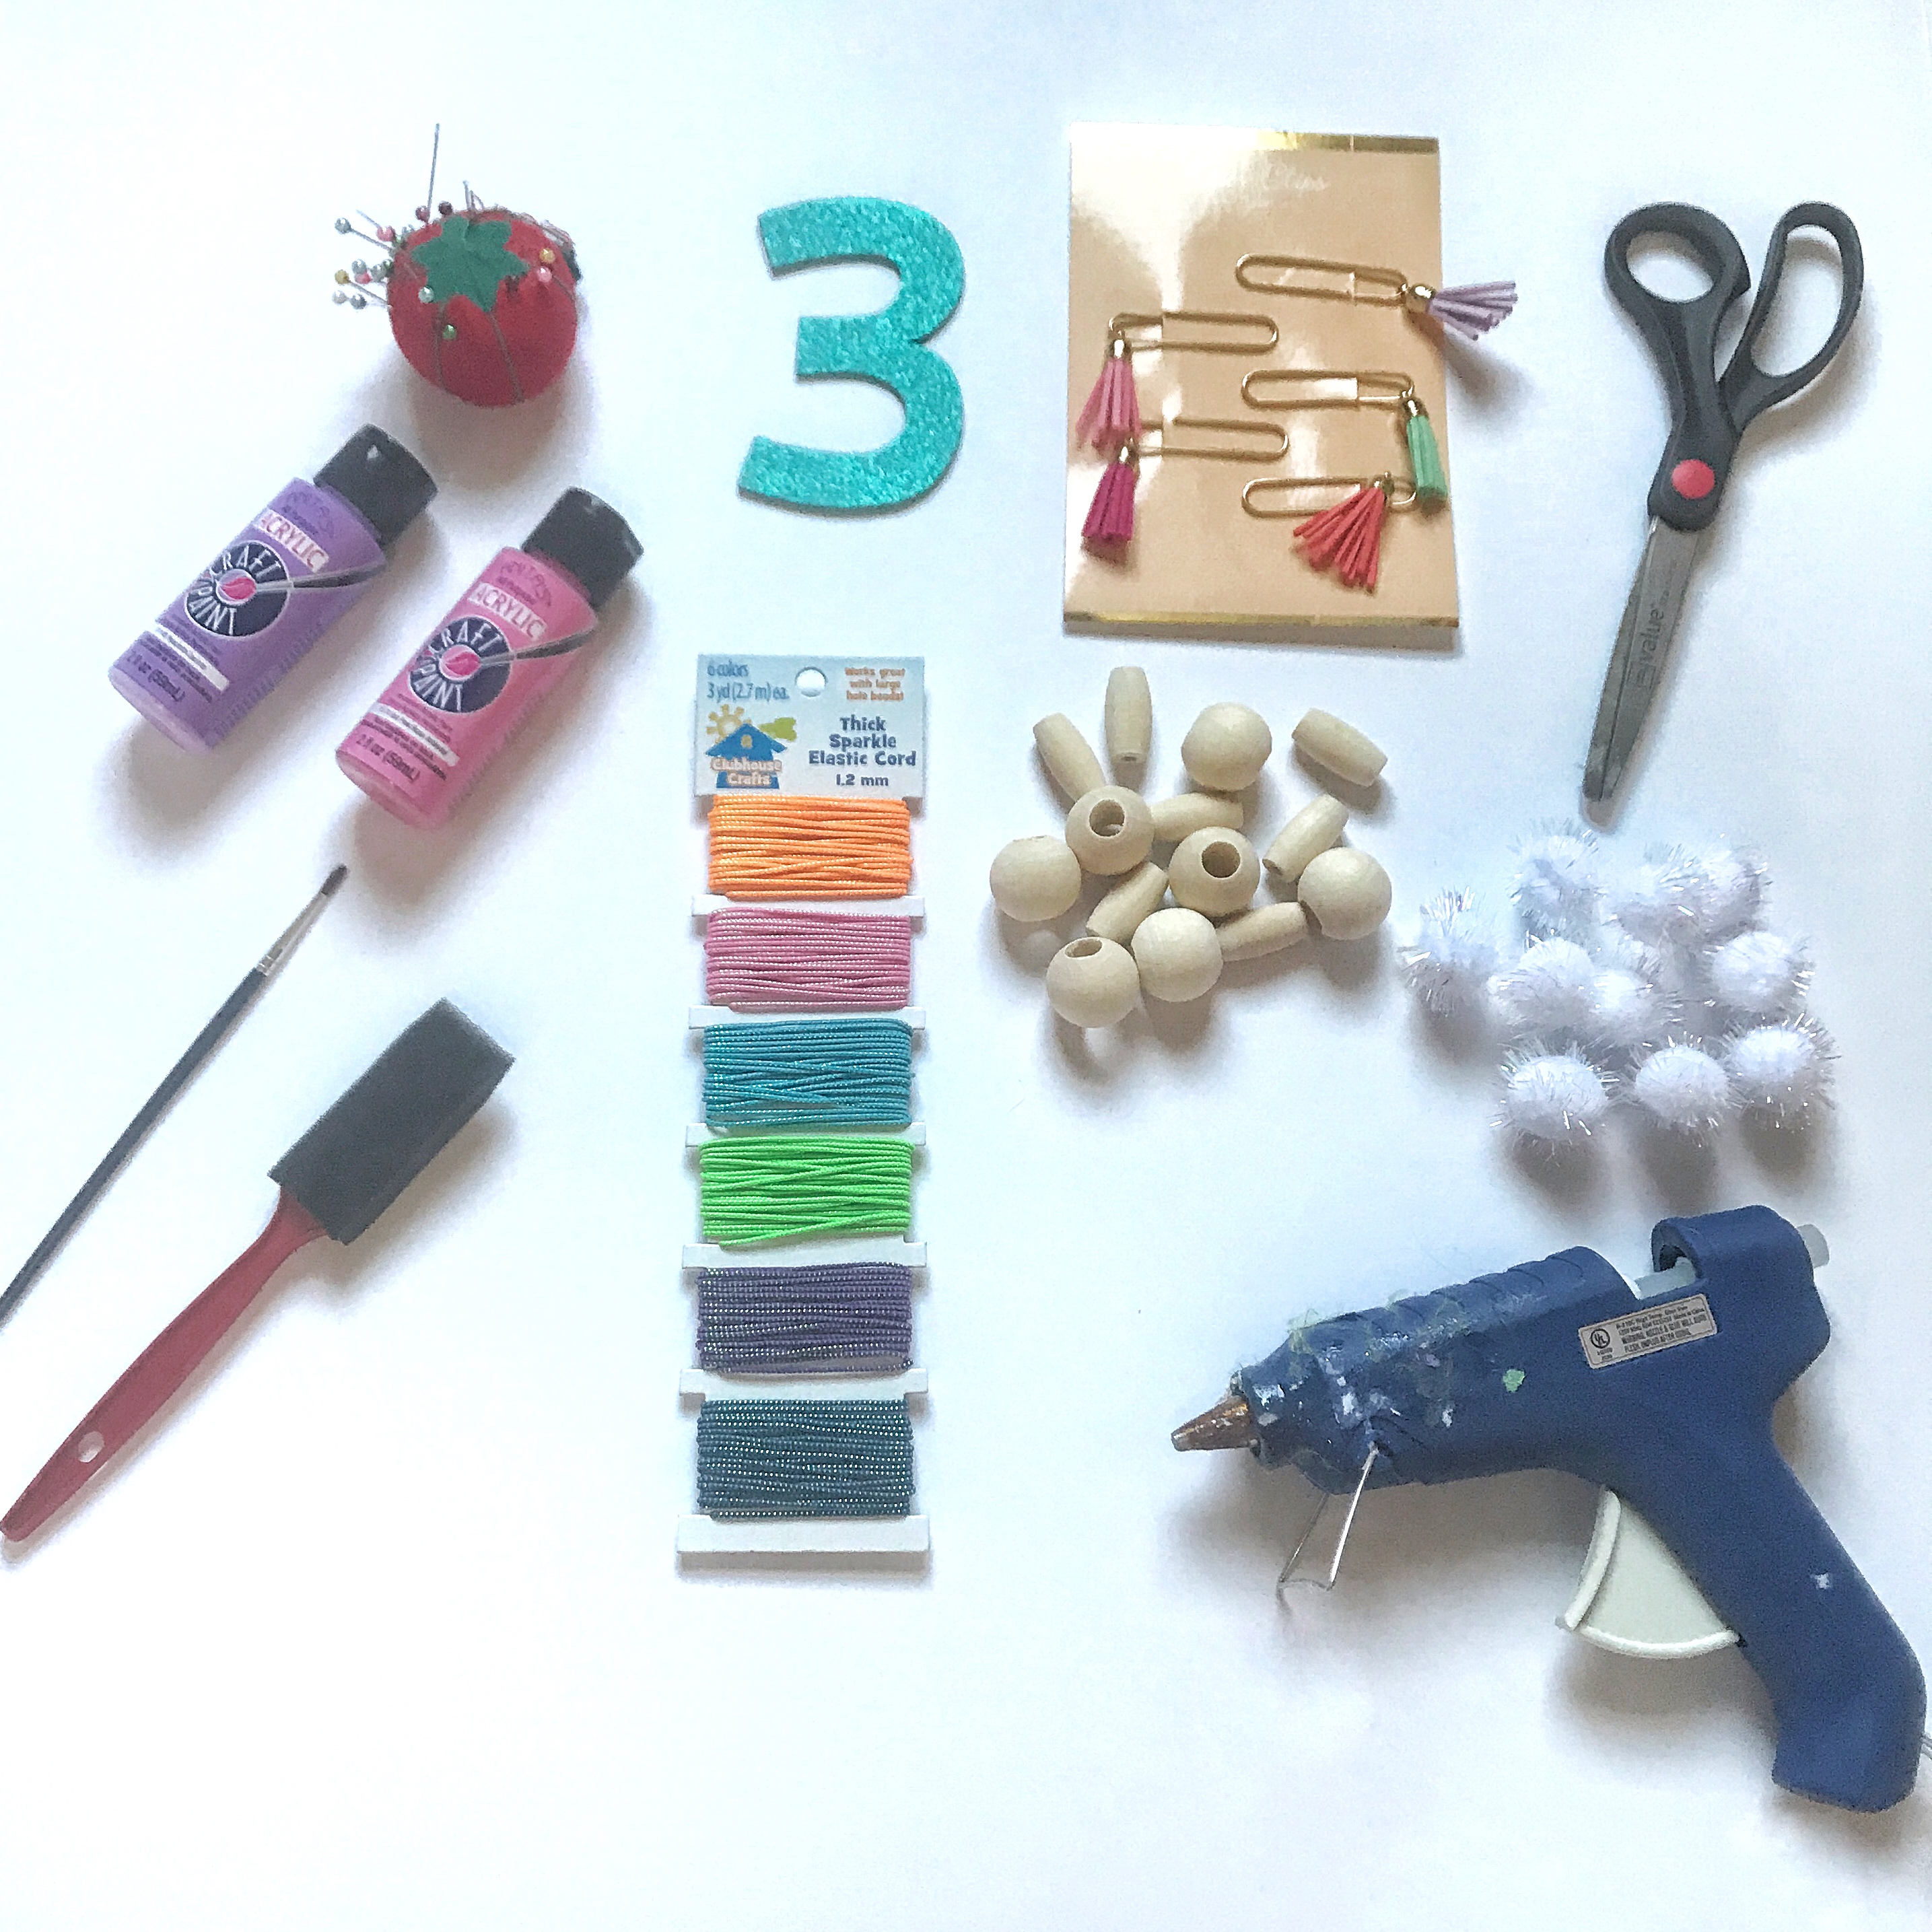
Wooden Beads
Paint & Brushes
Acrylic Top Coat – Optional
Elastic Cord
Pom Poms – Optional
A wood /Pressboard Number – We lucked out that they had one painted and glittered already
Scissors
Basting Needle
Charm/Tassle – Optional They had actual jewelry charm tassels but I found these paper clips at the checkout line for $1.99
Steps
- Paint Beads with 2-3 coats of paint

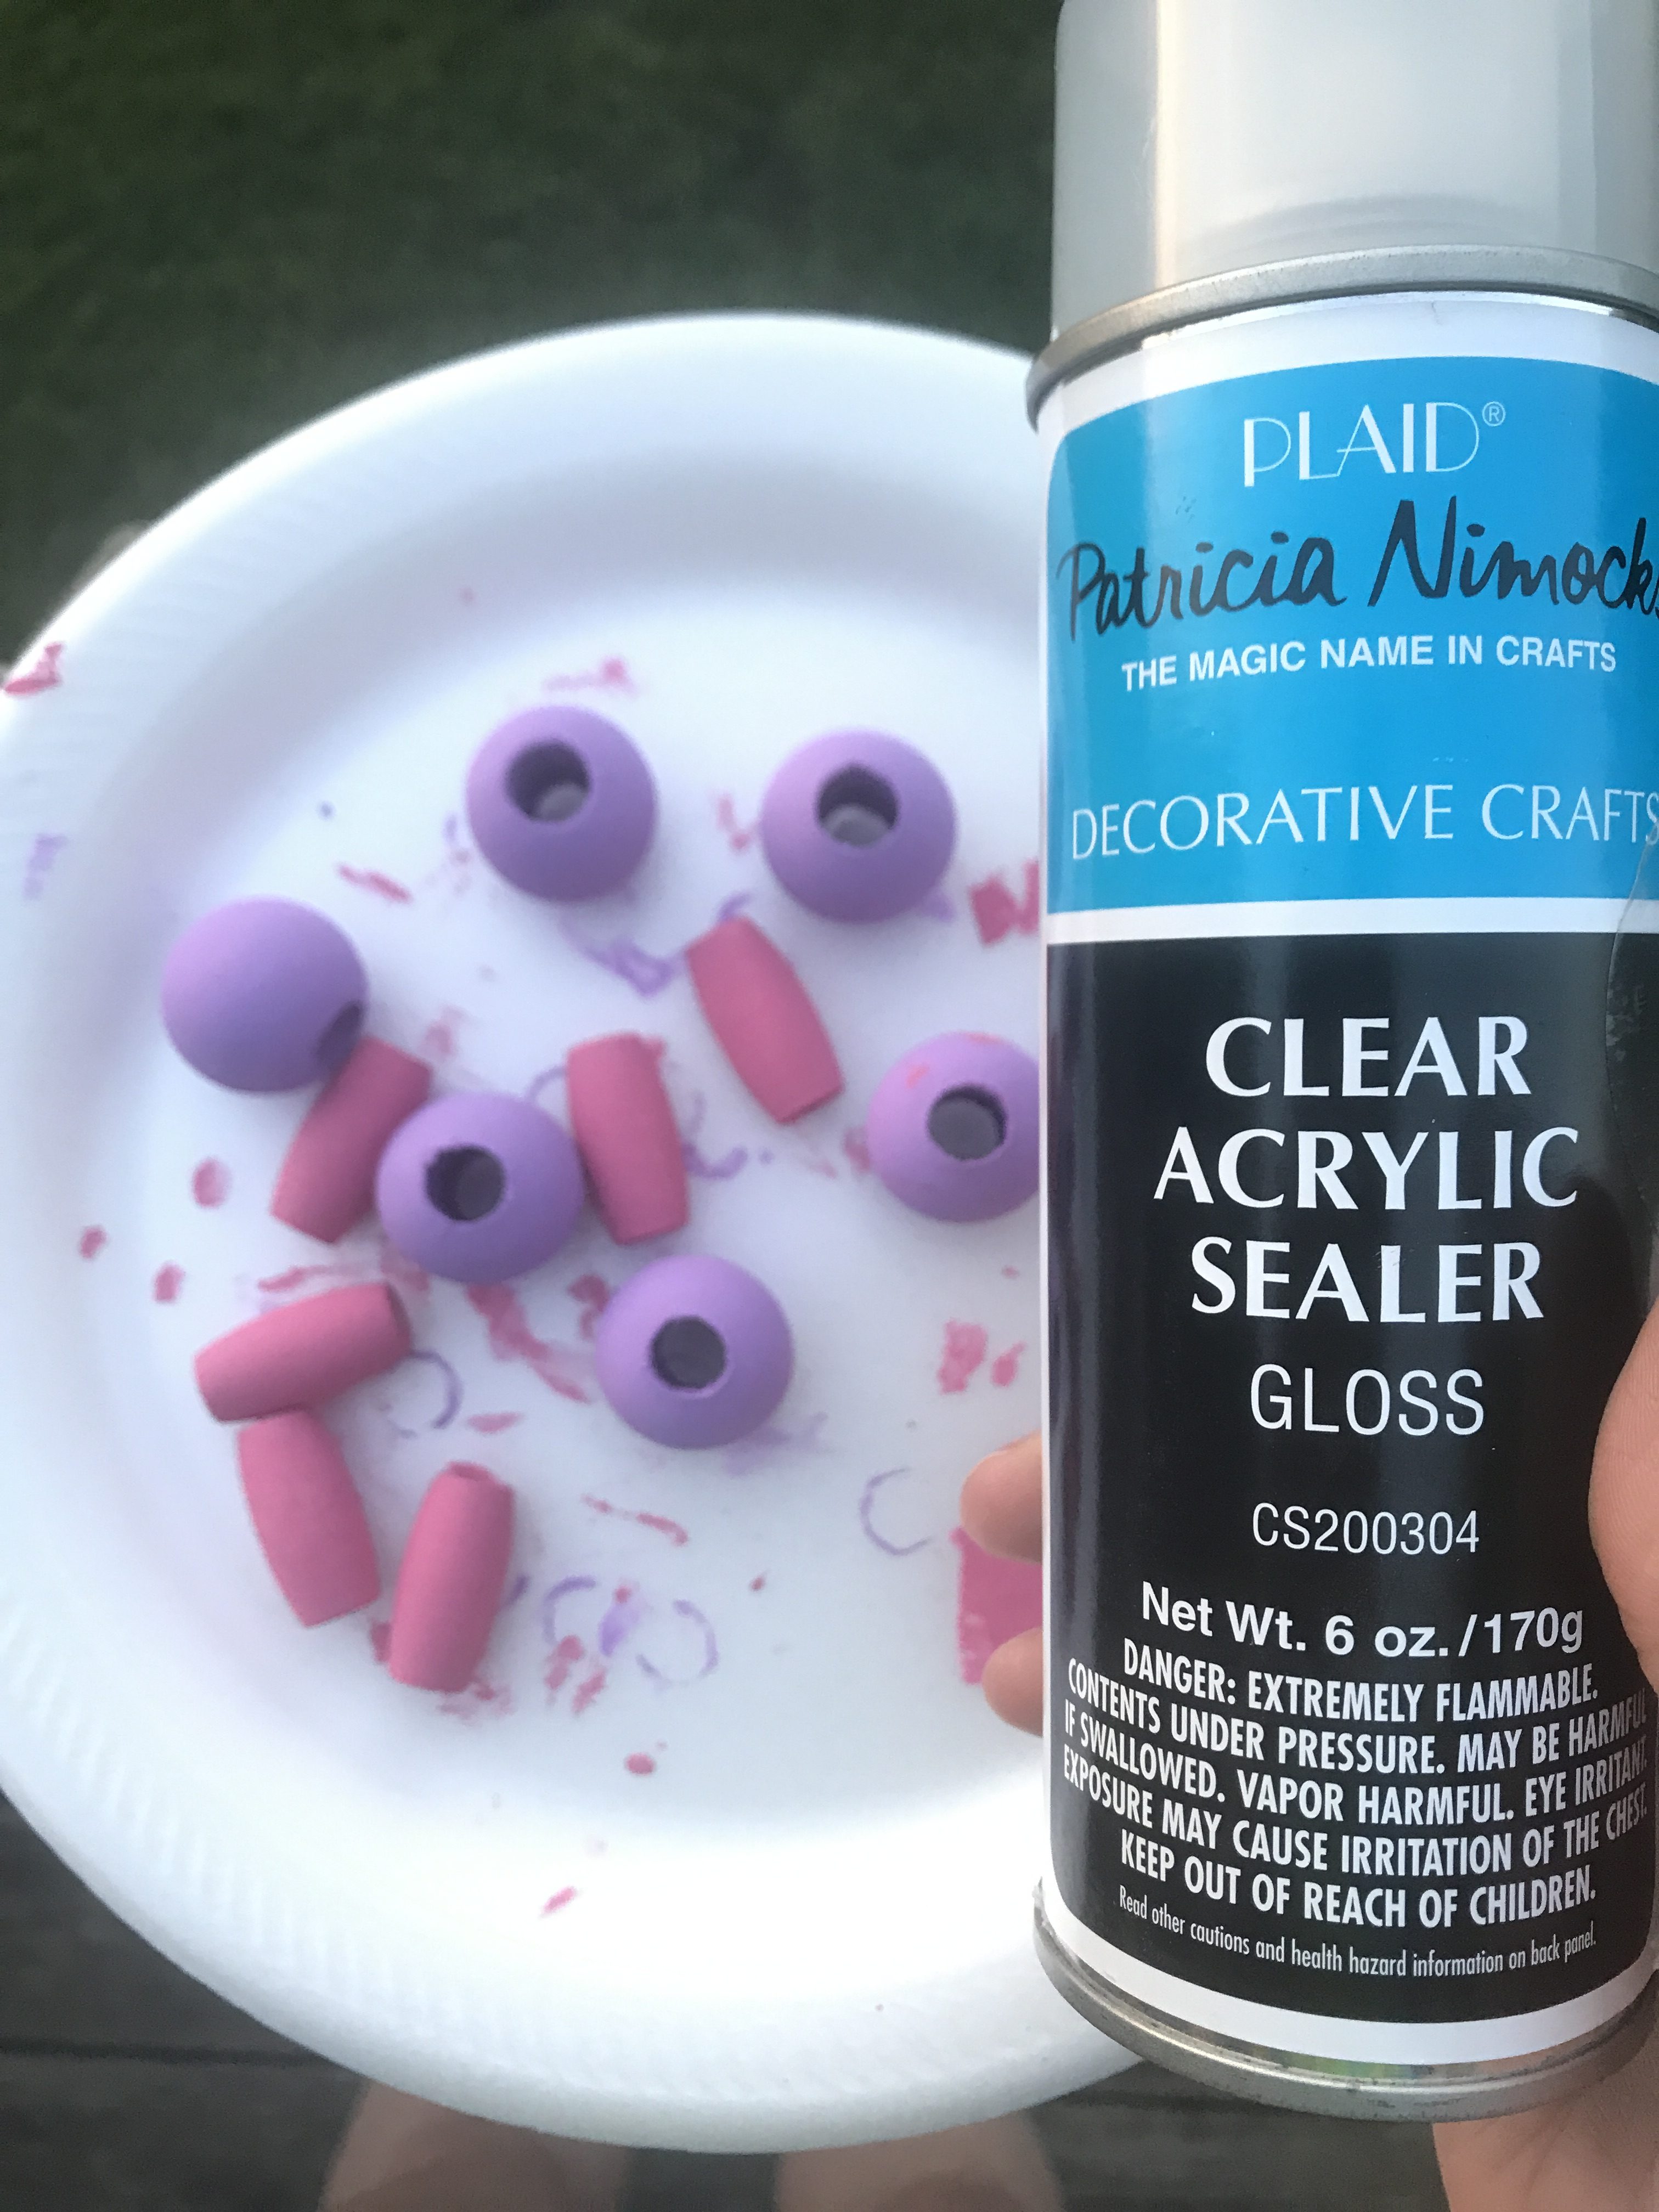
- I wanted a glossy finish so I sprayed the beads. If I didn’t have this on hand I probably would have skipped it. Modge Podge would also work.
- Layout your beads and poms in the order that you would like before you start stringing.
- Thread an extra long piece of elastic through your basting needle, tying a super tight knot at the end. You’ll need this to feed the string through the center of the poms. If you do not have a basting needle you could hot glue a pom on each side of the elastic. The only issue with this is that they will not move once you glue them in place. I would string everything, and get your number in place before gluing to ensure proper placement.
- Don’t forget your tassel/charm! I threaded everything and had to start over!
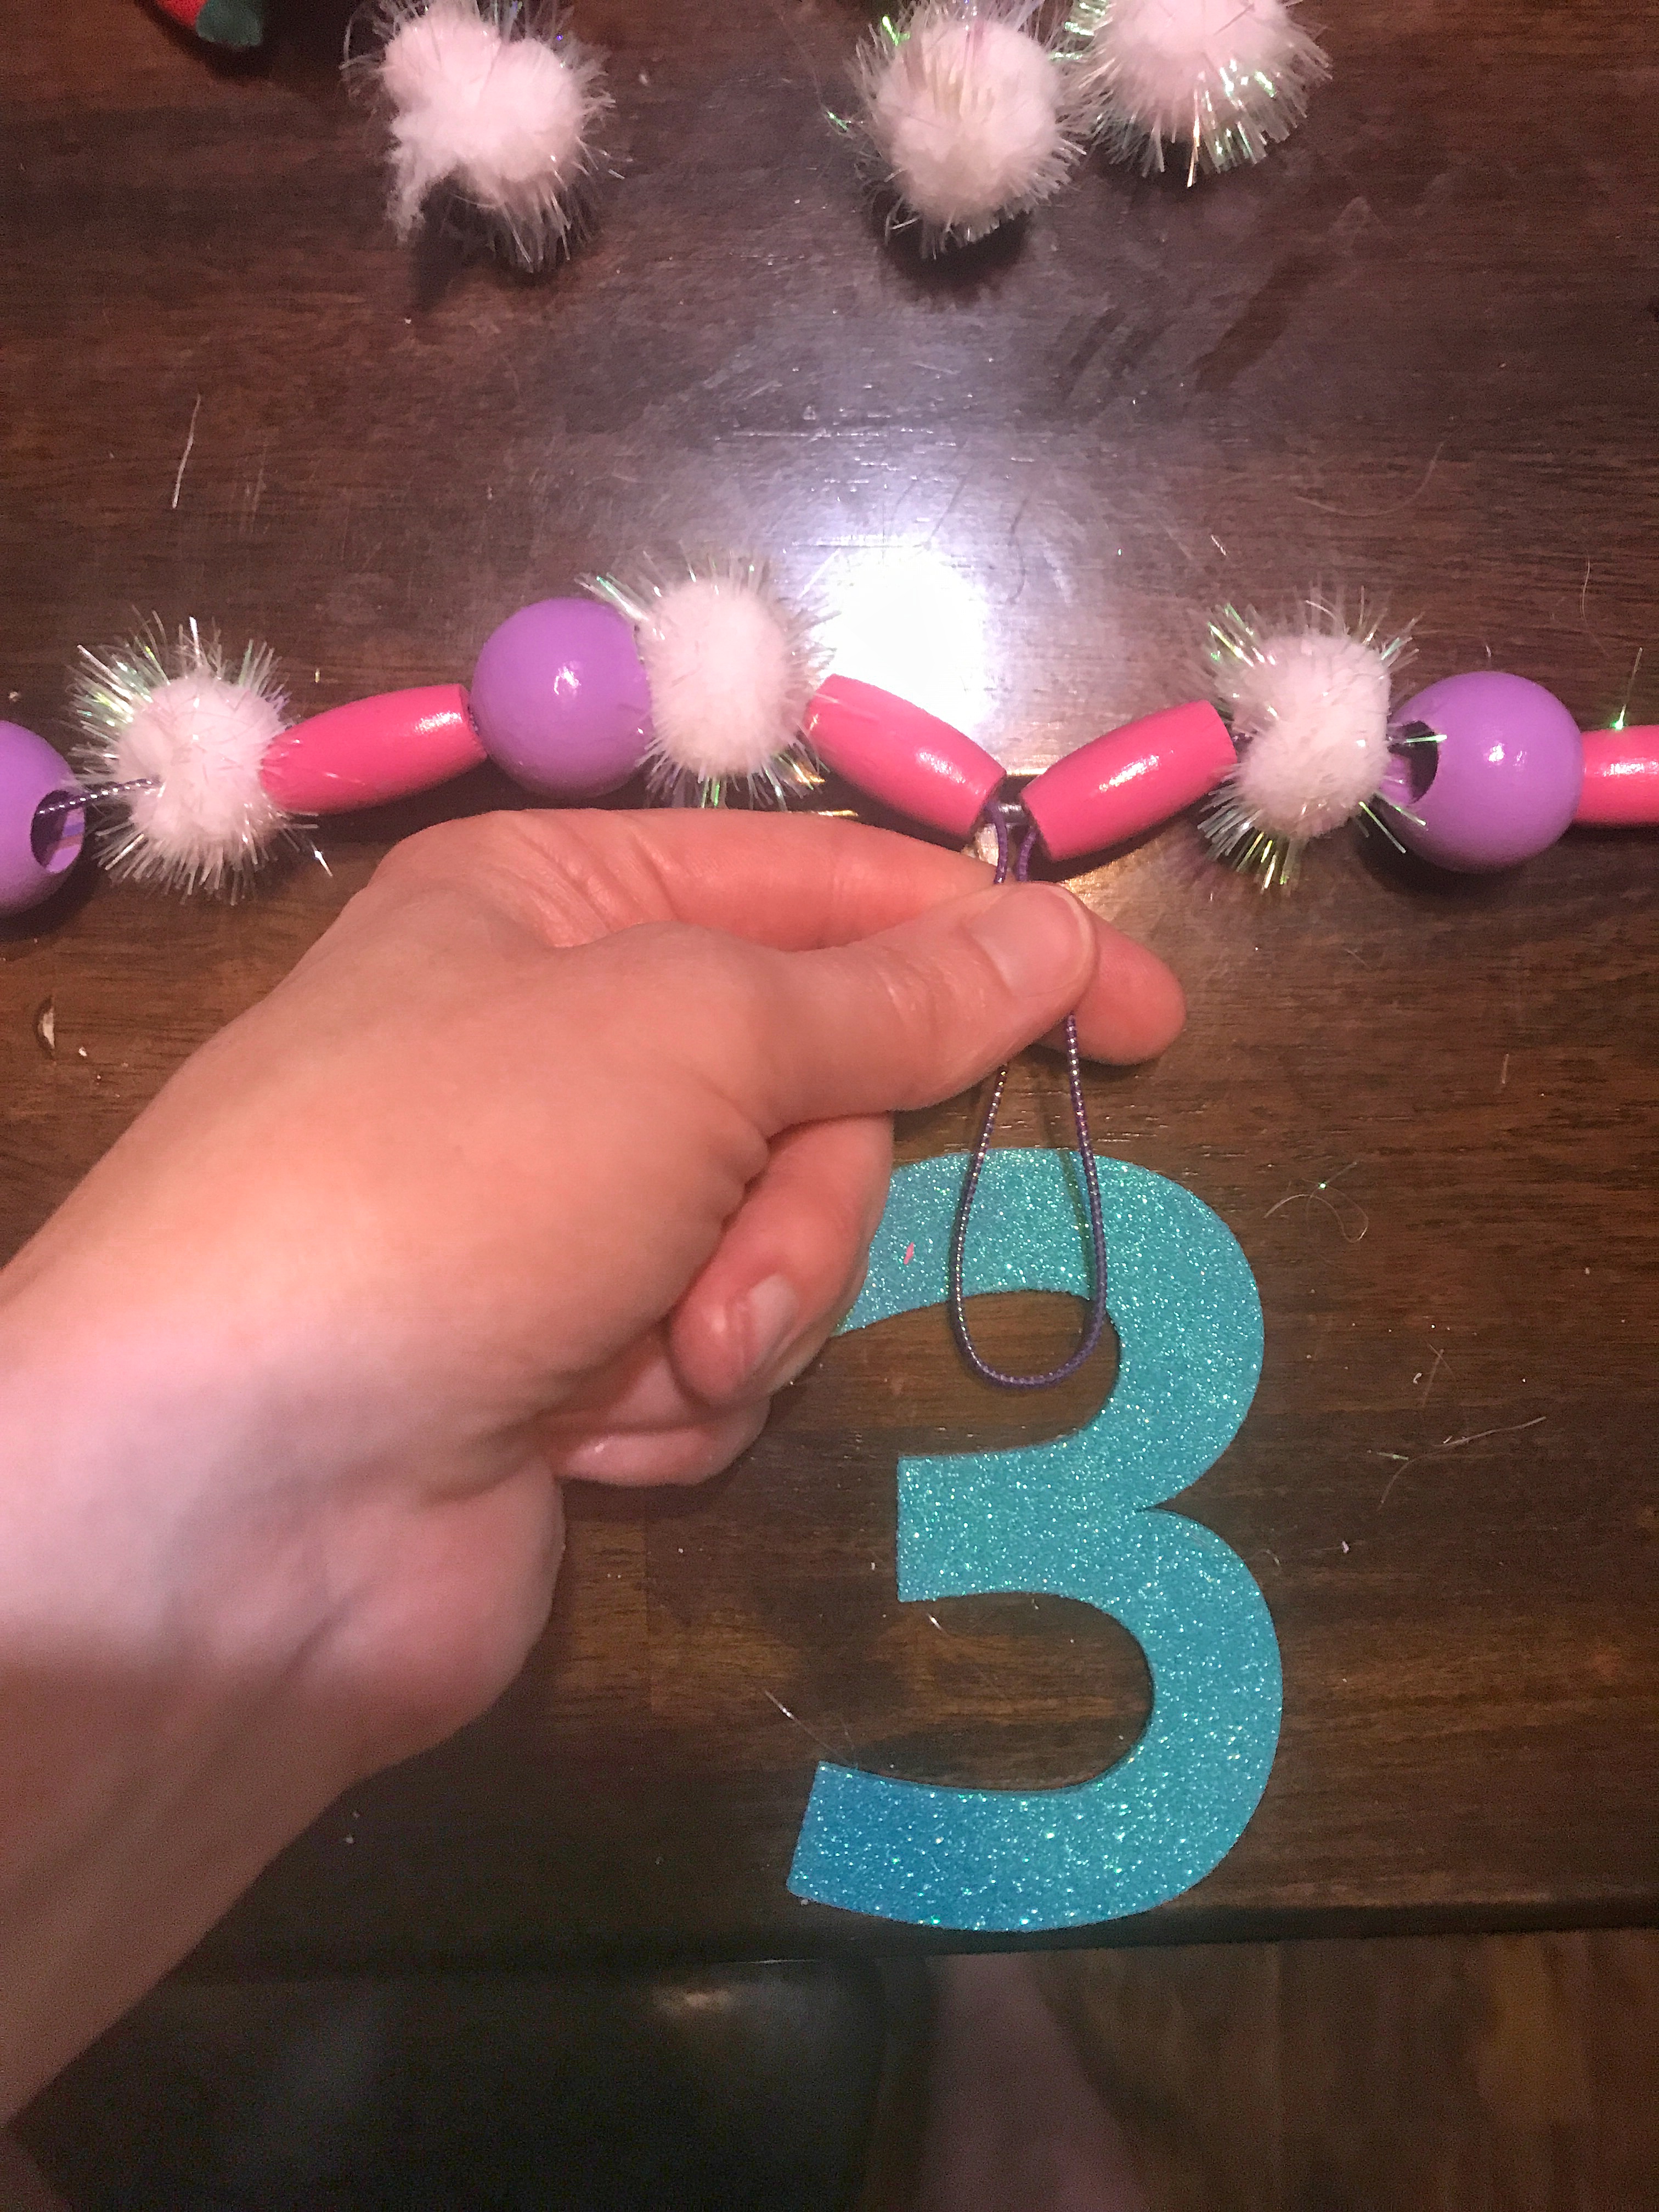
- Make a gap in the center of the beads where you want your number then make a very loose loop. Fold the loop behind the top of the number and feed one end of the elastic (and the beads) through the loop at a time.
- Make a loose knot at the end so you can adjust the sizing
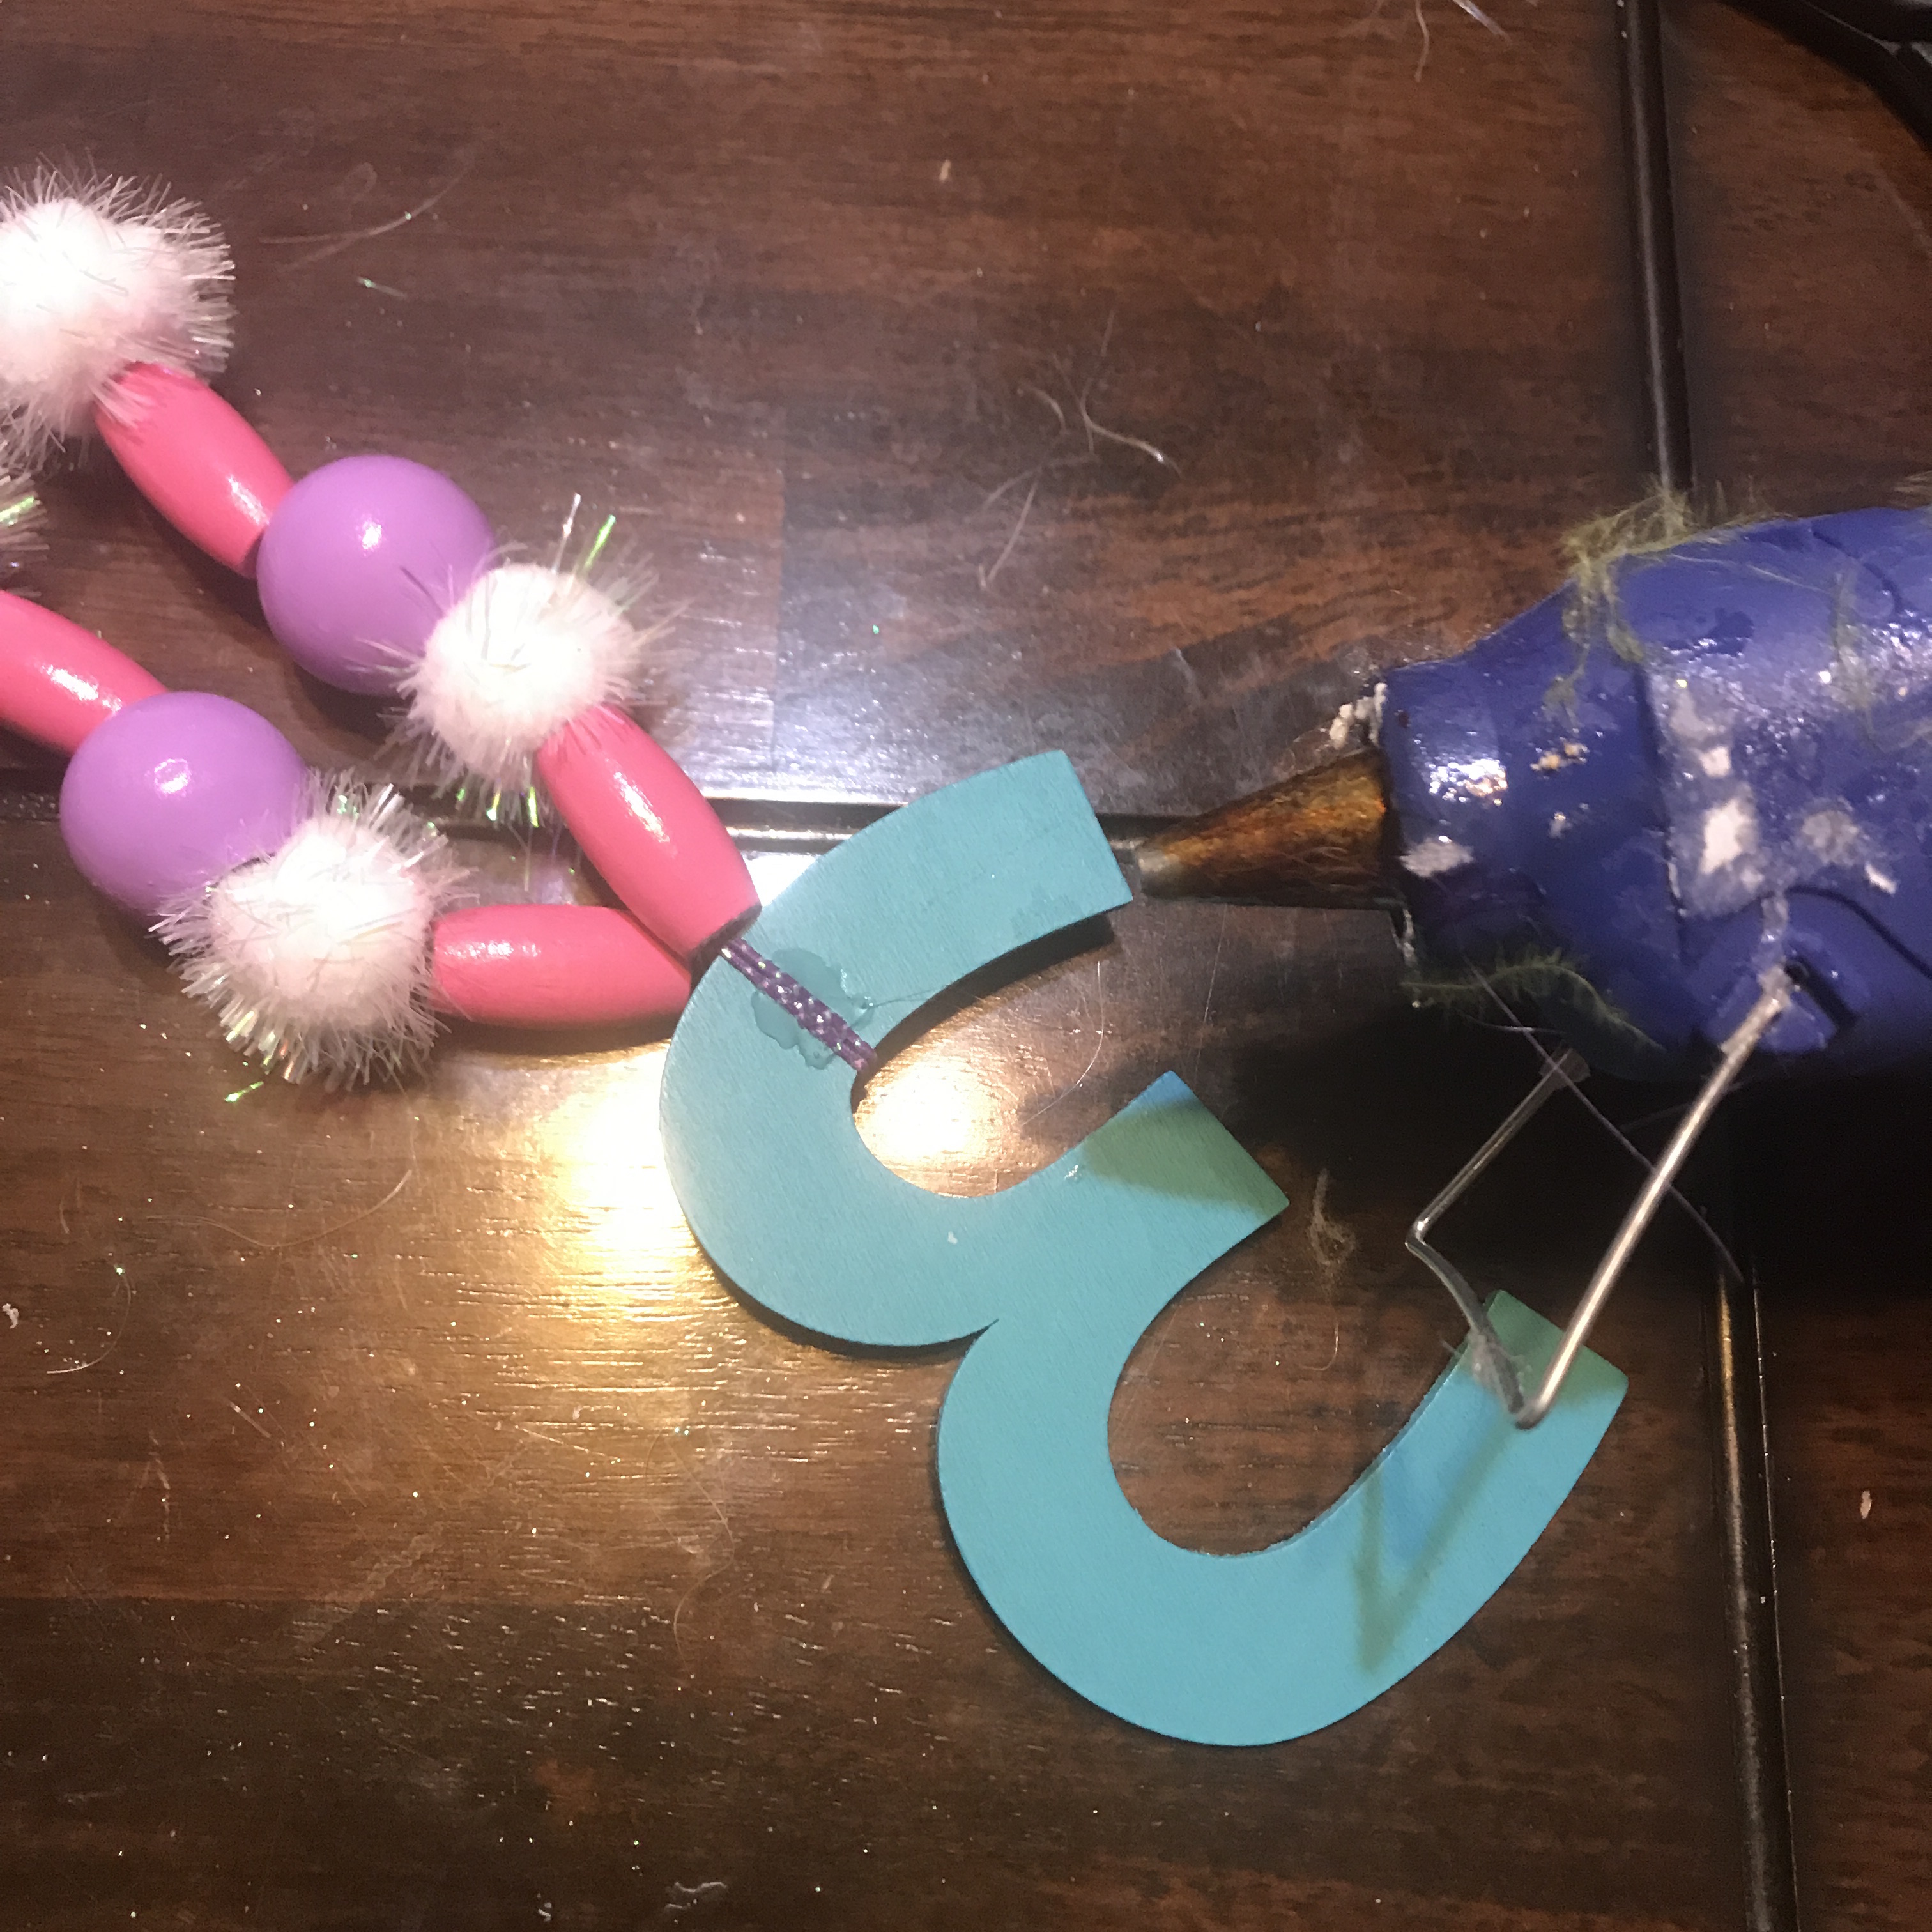
- Put a dab of hot glue on the back side of the number to keep the elastic from sliding off. Make sure it isn’t too hot though you don’t want your elastic to melt
Share your photos with us when you are done!
